A good presentation is a piece of art, with good visuals and content. Everybody wants to be engaged as well as get educated during the presentation.
So how do we do this?
How do we create a presentation that is visually engaging and imparting knowledge at the same time?
This can be done by smartly using visuals that will help you transform your presentation from “Drab to Fab”.
One such visual is a FILMSTRIP.
A filmstrip is a sequential roll of film with still pictures which are used to tell a story, stages, steps, process etc. Also, a good filmstrip is proficient enough to explain an idea or technique in minutes which may otherwise take hours to explain.
So, let us get engaged as well as educate ourselves using filmstrips!
What You’ll Learn to Create in this PowerPoint Tutorial:
 Steps To Create A Filmstrip Effect In PowerPoint:
Insert a Rectangle:
The base of a film strip is a rectangular shape. So, the first step to create a filmstrip requires adding a basic rectangle to your slide. In order to do so-
- Head over to the Insert tab in the window pane.
- Click on Shapes and from the shapes menu choose Rectangle to add it to your slide.
- Drag the rectangle to resize it as per your liking.
 Format the Rectangle:
The next step is to format the rectangle which you have added. In order to do so-
- Right click the rectangle and go to Format Shape > Solid Fill > Color.
- Choose Black Color and fill your shape with it.
- Remove the line of your shape by choosing No line.
Note – You can fill your shape with any color you desire.
 Insert Rectangle with Rounded Corners and Adjust its Size:
Add a rounded rectangle to your slide. To do so-
- Head over to Insert tab and from the Shapes menu select Rectangle: Rounded Corners (as shown in the screenshot).
- Adjust the size of the rounded rectangle by clicking on its edges and place over the black rectangle (as shown in the screenshot).
 Duplicate the Rounded Rectangles:
- Create multiple copies of these rounded rectangles by clicking on CNTRL + D
- Position these rounded rectangles over the black rectangle (as shown in the screenshot).
 Align the Shape:
Align every shape properly. To do so-
- Select each shape by pressing the Shift
- Head over to the Format > Align > Distribute Horizontally.
- Group the shapes together by clicking on CNTRL + G
- Duplicate these rectangles and place one copy at the bottom of the rectangle.
 Save as Picture:
The next step involves saving the shapes as a figure. In order to so-
- Select the rectangle as well as both the groups of Rounded Rectangles.
- Right click and select Save as Picture from the dialog box.
- Save the picture on your desktop by giving it the name of your choice.
 Insert the picture:
Add the saved picture to your slide. To do so-
- Go to Insert> Pictures.
- Choose the picture you saved and insert it in your slide (as shown below in the screenshot).
 Format the Picture:
Select the added picture and format it. To do so-
- Head over to the Format tab and click on
- A dialog box with many color options appear.
- Select Set Transparent Color and click on the rounded rectangles to format them.
 Add a Shadow to your shape:
The next step is to add a shadow to your shape to enhance it further. To do so-
- Select the shape and click on Format.
- In the Format tab select Picture Effects > Shadow.
- The shadow menu had many options to choose from. You can choose any option as you like. Here we have chosen Offset Bottom.
 Add Pictures to your Filmstrip:
Add as many pictures as you like to your filmstrip. To do so-
- Click on Insert > Pictures.
- Choose the pictures you want to display in your filmstrip.
Note- Resize these images by dragging their edges to fit them in the rectangular shape. You can also change the angle of these images as well as the filmstrip by clicking on the rotating head on the top.

This is how your final filmstrip will look like.
 Some Variations of Filmstrips In 3D Format:
3D Template #1
 3D Template #2
 3D Template #3

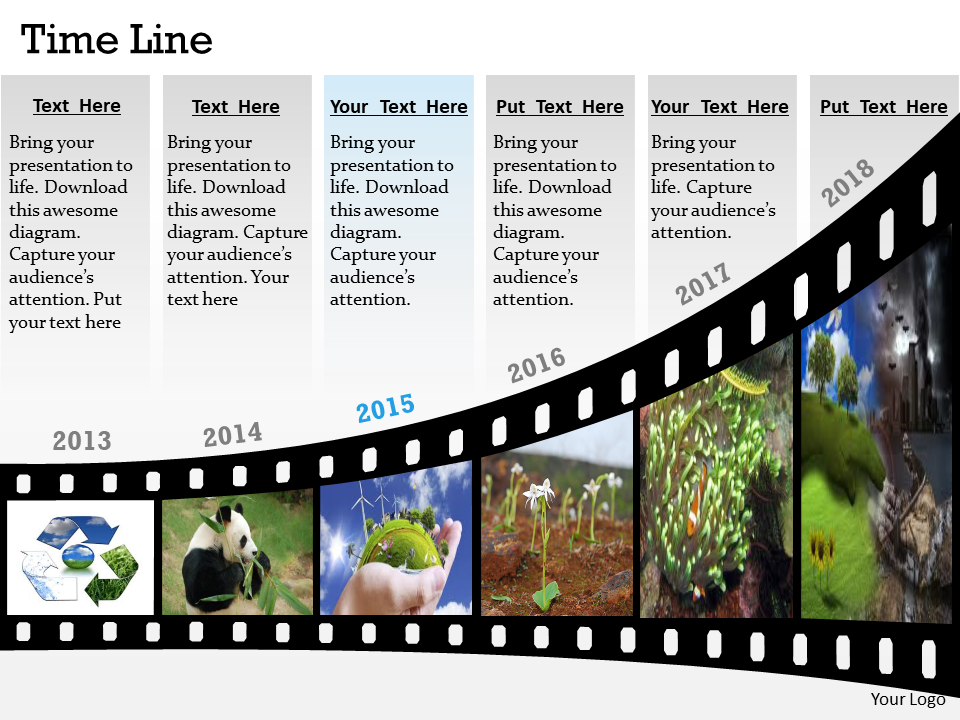
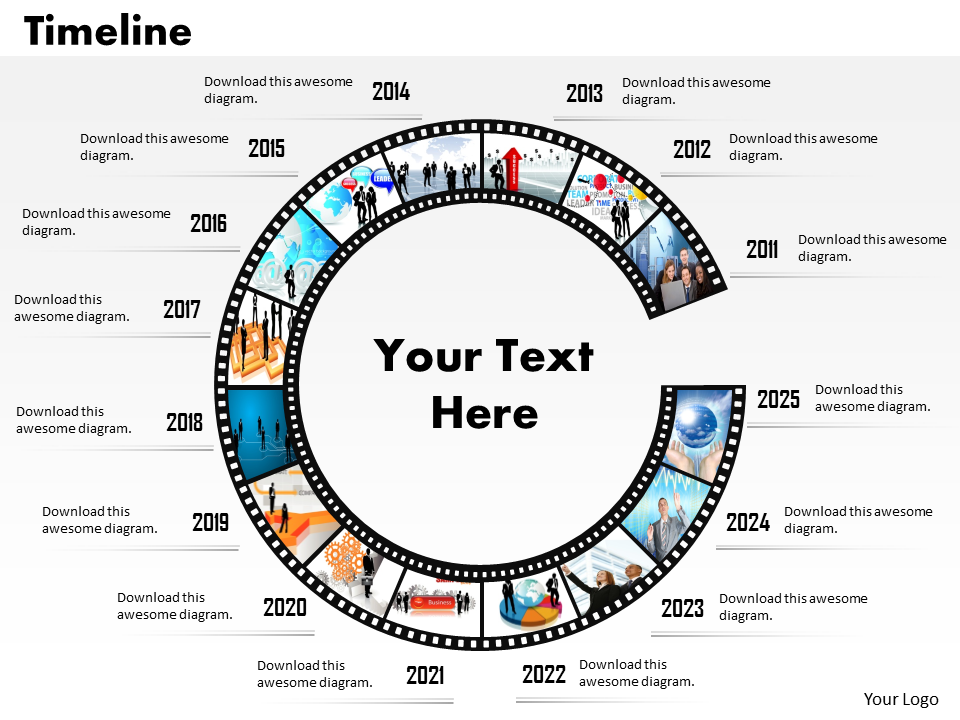
If you are short on time and don’t want to create a filmstrip from scratch, use our professionally created Filmstrip Templates.
Professionally Designed Filmstrip PowerPoint Templates:
Professional PowerPoint Template #1
 Grab
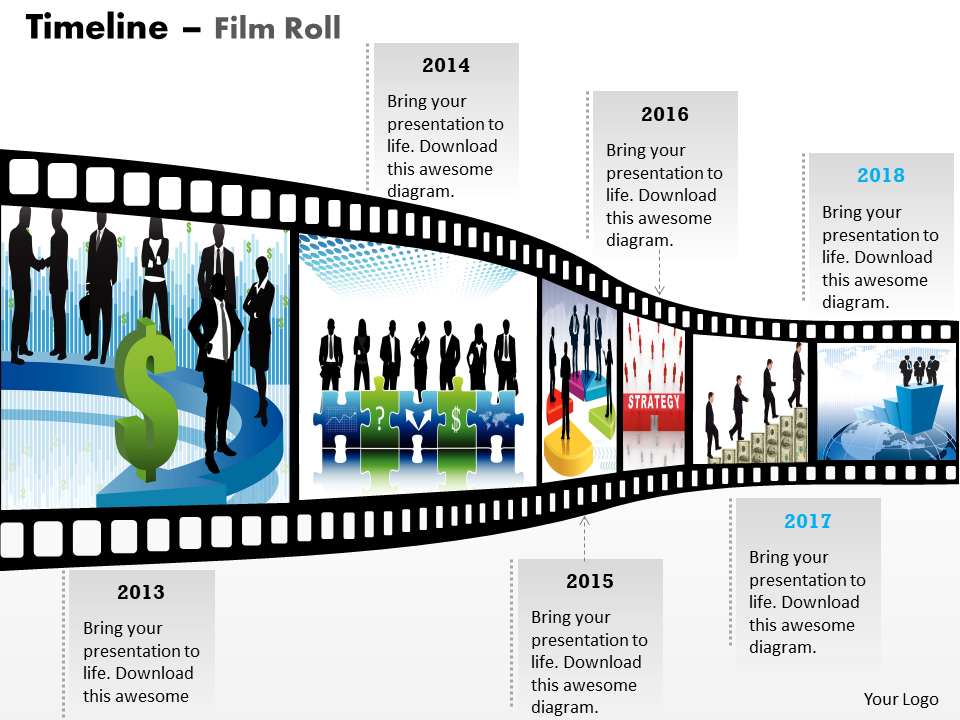
Grab our professional Timeline- Film Roll Template.
Professional PowerPoint Template #2
 Click here
 to make this innovative Strategic Management Show Data By Timeline Template your own.
Professional PowerPoint Template #3
 Download
 this attractive Business Framework Model Filmstrip Timeline Template.
Professional PowerPoint Template #4
 Grab
Grab this Strategic Management Multicolor Filmstrip Roadmap Diagram Template.
Professional PowerPoint Template #5
 Click here
 to download this creatively designed PowerPoint Presentation Filmstrip Company Success Movie Template.
We enjoyed a lot creating this Filmstrip tutorial for you. Hope you also enjoy making one for yourself. Tell us your views in the comment section below.
 Steps To Create A Filmstrip Effect In PowerPoint:
Insert a Rectangle:
The base of a film strip is a rectangular shape. So, the first step to create a filmstrip requires adding a basic rectangle to your slide. In order to do so-
 Format the Rectangle:
The next step is to format the rectangle which you have added. In order to do so-
 Insert Rectangle with Rounded Corners and Adjust its Size:
Add a rounded rectangle to your slide. To do so-
 Duplicate the Rounded Rectangles:
 Align the Shape:
Align every shape properly. To do so-
 Save as Picture:
The next step involves saving the shapes as a figure. In order to so-
 Insert the picture:
Add the saved picture to your slide. To do so-
 Format the Picture:
Select the added picture and format it. To do so-
 Add a Shadow to your shape:
The next step is to add a shadow to your shape to enhance it further. To do so-
 Add Pictures to your Filmstrip:
Add as many pictures as you like to your filmstrip. To do so-
 This is how your final filmstrip will look like.
 Some Variations of Filmstrips In 3D Format:
3D Template #1
 3D Template #2
 3D Template #3
 If you are short on time and don’t want to create a filmstrip from scratch, use our professionally created Filmstrip Templates.
Professionally Designed Filmstrip PowerPoint Templates:
Professional PowerPoint Template #1
 Grab our professional Timeline- Film Roll Template.
Professional PowerPoint Template #2
 Click here to make this innovative Strategic Management Show Data By Timeline Template your own.
Professional PowerPoint Template #3
 Download this attractive Business Framework Model Filmstrip Timeline Template.
Professional PowerPoint Template #4
 Grab this Strategic Management Multicolor Filmstrip Roadmap Diagram Template.
Professional PowerPoint Template #5
 Click here to download this creatively designed PowerPoint Presentation Filmstrip Company Success Movie Template.
We enjoyed a lot creating this Filmstrip tutorial for you. Hope you also enjoy making one for yourself. Tell us your views in the comment section below.
 Home
Home 


 Customer Reviews


